
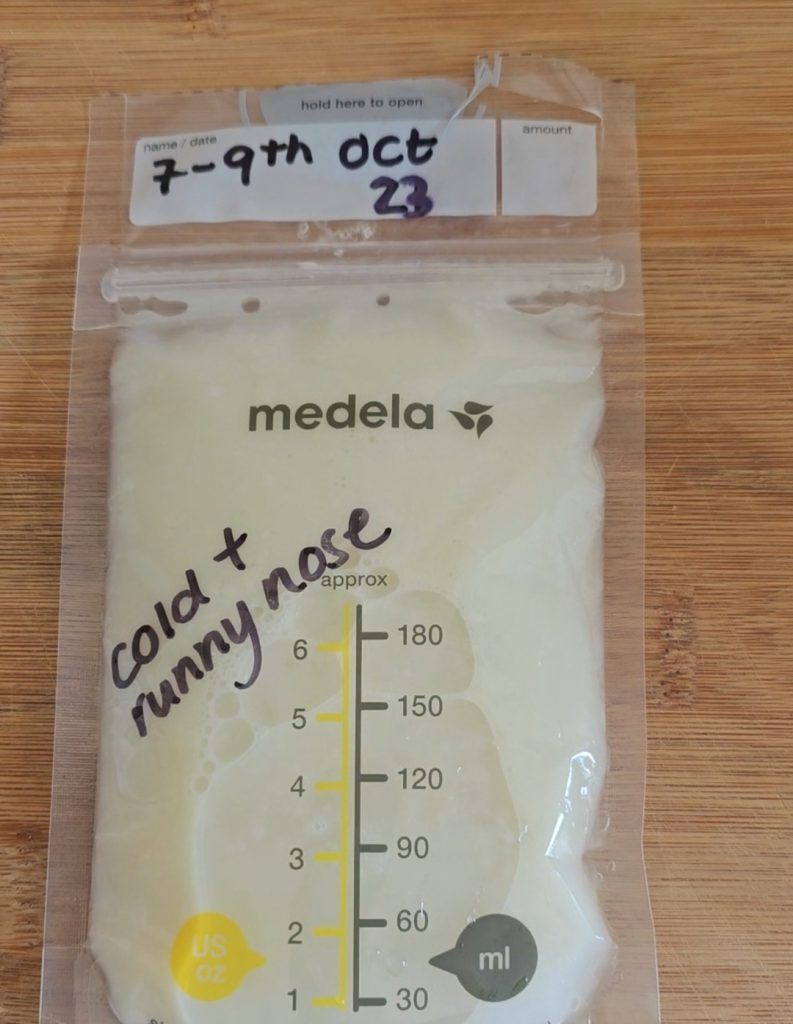
Throughout your breastfeeding journey, you accumulate bags of expressed breast milk. You label it and store it away in the freezer for ‘a rainy day’, but have you ever thought of using it to make your very own breast milk soap?
As a mother you’re always thinking ahead, preparing for those ‘just in case moments’ when you may be away from your baby. But what happens when your stored breast milk it doesn’t get used? Perhaps you fear the milk has expired, or your child has stopped breastfeeding, so the milk is obsolete.
If, like me, the thought of throwing away that precious milky goodness makes your spine shudder and your boobs cringe, then breast milk soap could be the solution for you! Read on for the recipe.

Benefits of breast milk soap
The great thing about making your own soap is that it only contains what you put in it. No harsh chemicals or additives. Just a soap base and your amazing breast milk!
Boasting lots of wonderful benefits, breast milk soap is extra gentle which makes it a great option for sensitive skin, eczema, chickenpox, and rashes. Many breastfeeding mothers also use their homemade soap to treat their baby’s cradle cap and to help with chickenpox.
10 skins conditions which can benefit from breast milk soap
- Dry skin
- Eczema
- Cradle cap
- Sunburn
- Skin warts
- Cuts & scrapes
- Insect bites
- Skin allergies
- Nappy rash
- Stretch marks!


Breast milk is high in fats and therefore ideal for making a creamy soap. It naturally contains more sugars than other types of milk used in soap making and this gives a finished bar of soap a silky lather.
DIY breast milk soap
Serving Size:
Makes 6 small 1cm thick soaps
Time:
10 mins prep, 2 hours to set
Difficulty:
Easy
Ingredients for breast milk soap
- 200ml of breast milk (if frozen, leave out to thaw so that the milk is room temp)
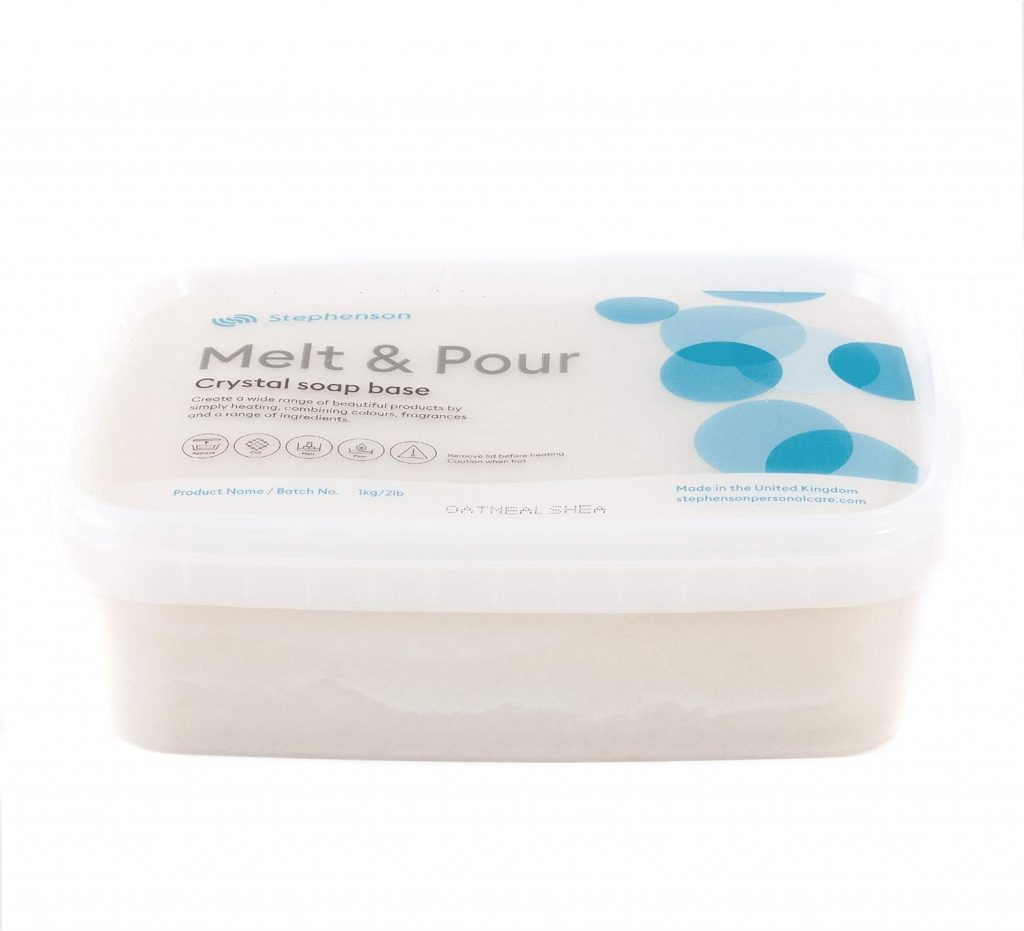
- 200g of soap base
- Silicone soap moulds
Step-by-step guide and video
Here’s a simple step-by-step guide and video to show you how to make some milky soap.
• Boil some water in a pan on the hob. I usually fill the pan a 1/3 of the way full.
• Pop a heatproof bowl on top of the pan and add your soap base. Stir occasionally until the soap has melted.
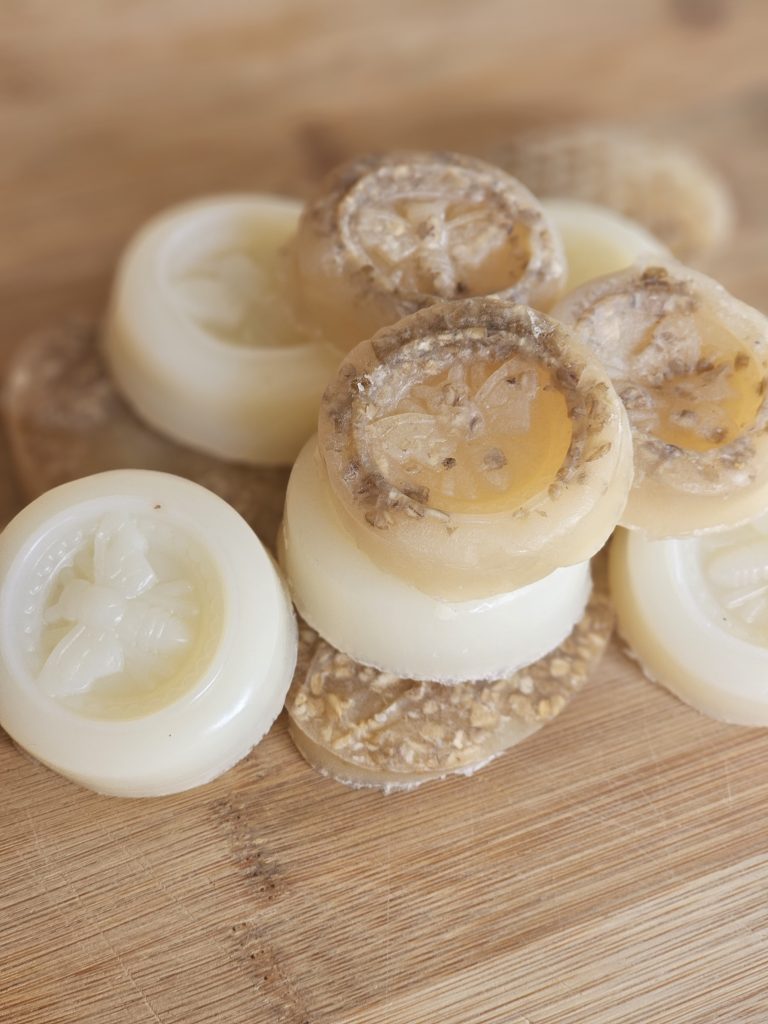
• Once the soap base has melted, you can add your breast milk. You can also add extras like vitamin E, essential oils, dried flowers or oats.
• When the breast milk and soap are fully combined, pour the milky soap mixture into silicone moulds. Again, you can add extras here like more flowers or more oats.
• Leave your soap out on the counter until they’ve cooled enough to put in the fridge.
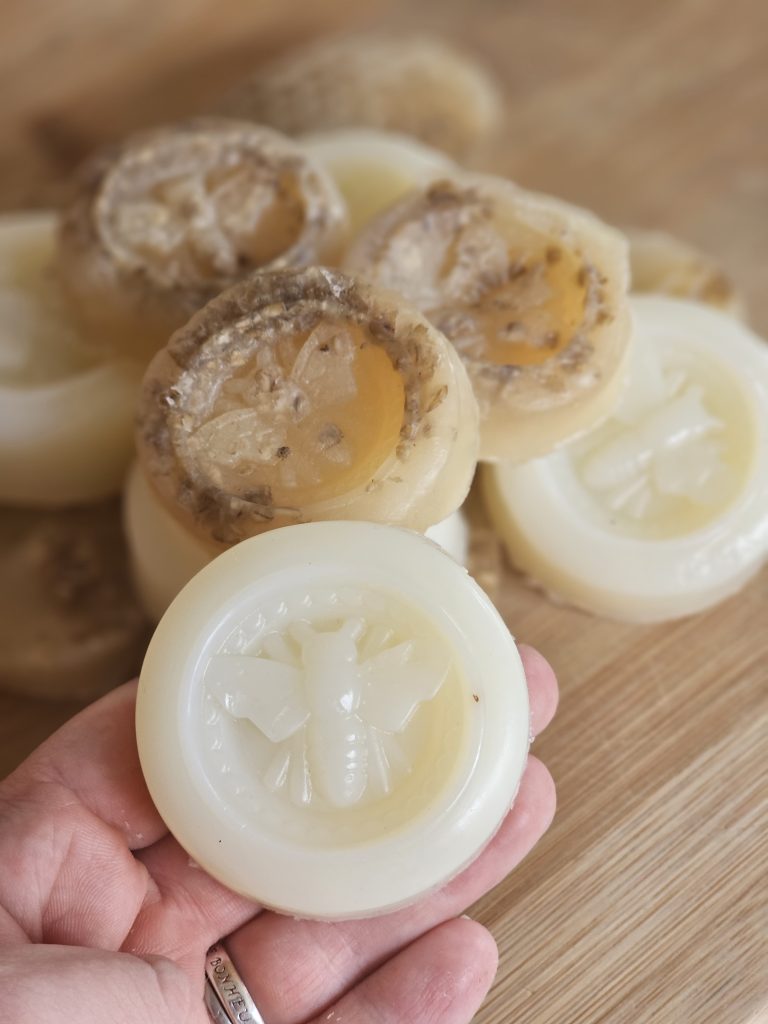
• Once the soap is fully hardened, you can remove from the moulds and use!
• You can store the soap in a zip lock back in the fridge for whenever you need them
It’s that simple! Will you give it a try?

Click to buy the key items for making your own soap


Get your soap moulds and soap base plus any additional extras like oats and dried flowers!